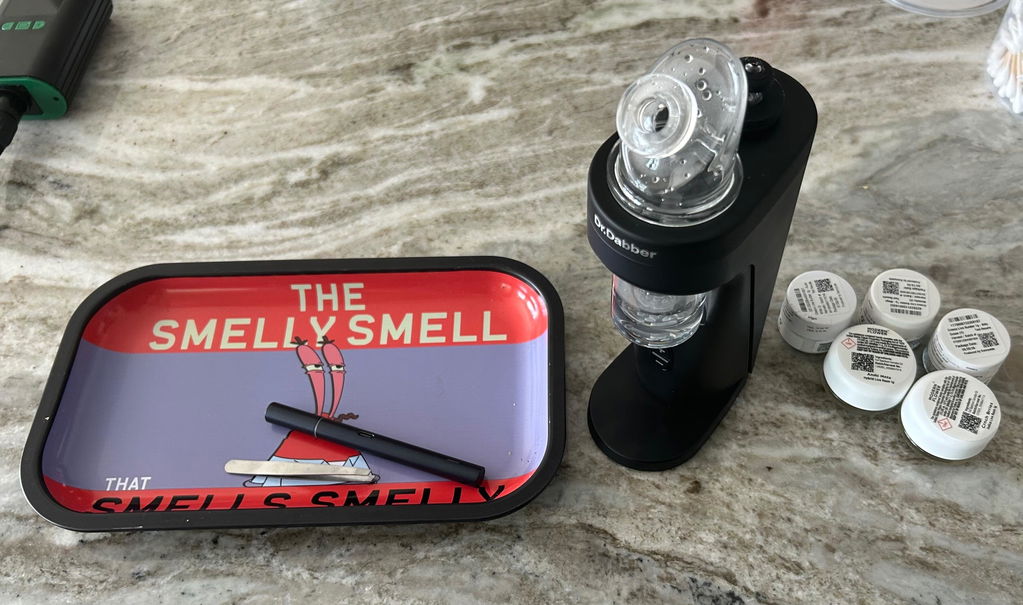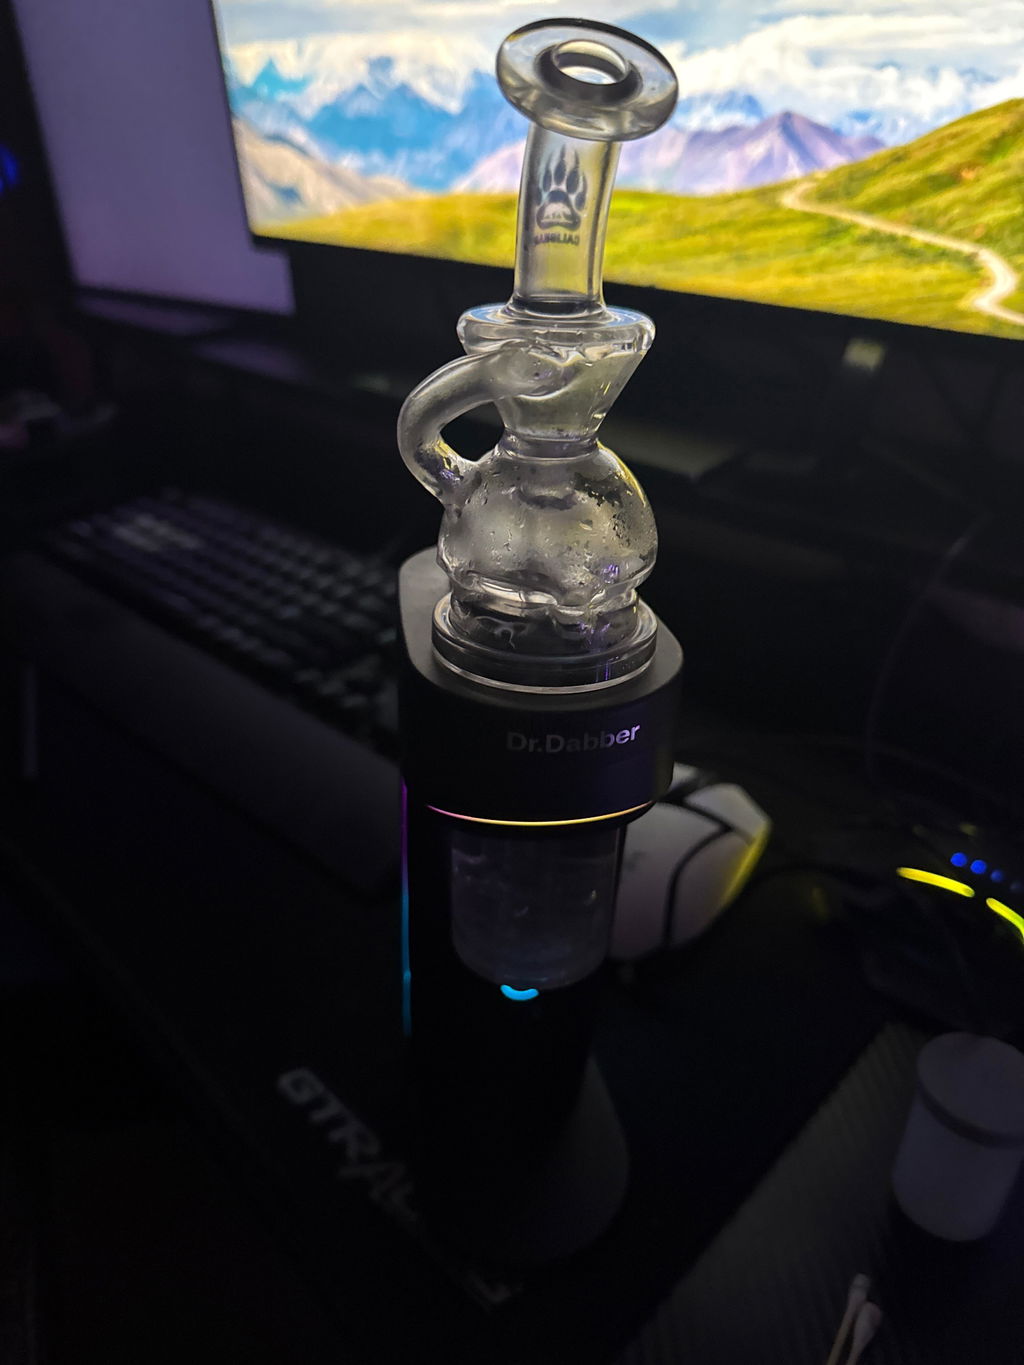
Dr. Dabber Switch²™ (Switch 2) by Dr. Dabber


Dr. Dabber Switch²™ (Switch 2) by Dr. Dabber


Product details
About The Dr. Dabber Switch 2
The Dr. Dabber Switch 2 is a high-end E-rig that is packed with features to accommodate any user and provide a top-of-the-line performance with every use. The Switch 2’s innovative design includes omni-directional induction heating, precision temperature control through an internal IR temperature sensor, dynamic heating modes, and a variety of options for complete customization including adjustable hold times, customizable heating modes, custom light themes and options including brightness, a stealth mode, and color options, and adjustable haptic feedback and auto-shutoff times.
The Dr. Dabber Switch 2 App
Connecting to the Bluetooth application also takes things to the next level, allowing users to view a full analysis of their Switch 2 e-rig use including favorite temperature settings, total heat cycles, most cycles in a single day, total charging cycles, favorite heating mode, favorite light mode, and the total time that the unit has been powered on. Users can even share temperatures and heating profiles with other users, set precise temperatures in single degree increments and adjust other settings, and run a cleaning assist cycle which makes regular maintenance a breeze.
The Dr. Dabber Switch 2 Design
The Dr. Dabber Switch 2’s construction matches its technological innovation by featuring a clean vapor pathway, a smaller and more travel friendly size than the original Switch but with a significantly expanded cup capacity, and a more durable and table stable design. This updated design also accommodates a powerful internal 3,000 mAh battery capacity provided by powerful LiFepO4 battery cells that provide users with an advertised 30 heat cycles (though some users have reported achieving up to 45 depending on temperature and hold-time settings), and a fast 60-minute charging time with pass-through charging.
Dr. Dabber Switch 2 Safety Features
Built into the Switch 2’s E-rig design, charger, and battery are several safety features to provide over-voltage, over-current, under-voltage, over-temperature, short-circuit, and reverse- polarity protections.
Dr. Dabber Switch 2 Accessories
The Dr. Dabber Switch 2 is a fantastic concentrate vaporizer on its own but Dr. Dabber go above and beyond with the included accessories. The kit includes a replacement carb cap and glass attachment but also the Dr. Dabber Drop: an electronic heated tool that simplifies the experience of loading and working with concentrate materials. Also included is a 20mm quartz insert which provides extremely pure flavor and even heat distribution for maximum efficiency.
Switch 2 Accessory Recommendations
Outside of the kit users can pick up the Dr. Dabber Incycler Glass Attachment for incredible water filtration and silky-smooth vapor or the Dr. Dabber Switch 2 Sapphire Insert: a 20mm lab-grown single-crystal sapphire cup designed to replace the included quartz insert and provide users with improved heat retention for more efficient and consistent vaporization at lower temperatures, and an unmatched flavor profile. Some may also enjoy the Switch 2 titanium insert which features medical grade titanium to offer fast heat up times and compatibility with dry materials.
If this is your first Switch 2 we also recommend checking out our Switch 2 Bundle for a fantastic value.
Dr. Dabber Switch 2 Features
- Omni-directional induction heating for maximum efficiency and vapor production
- IR temperature sensor for incredibly precise temperature control
- Dynamic heating modes to suit a variety of users
- App integration for a ton of customizable settings and analytics
- Water filtration for smooth, cool clouds
- USB-C fast charging with pass-through
- Powerful internal batteries for up to 45 heat cycles per charge (dependent on settings and use)
- Stealth mode and customizable lighting
- A variety of safety features
- Items Included with the Dr. Dabber Switch 2
- Dr. Dabber Switch 2 E-rig
- Switch 2 quartz insert
- Replacement carb cap
- Replacement glass attachment
- Dr. Dabber Drop
- 36W charger
- USB-C charging cable (1m)
How to use the Dr. Dabber Switch 2
- You can check out our Dr. Dabber Switch 2 User Guide here for more information.
- Your quartz insert will be pre-installed but if you need to install the insert or a replacement insert, remove the top aluminum crown and place the insert inside the titanium heating chamber. Reinstall the crown and firmly attach to the e-rig. The glass must be removed before removing the aluminum crown.
- Remove the glass attachment from the vaporizer. Fill the glass attachment with water to the fill line and install onto the Switch 2. The Glass attachment cloud pathway should be lined up toward the vaporizer, indicated by the line on the back of the glass attachment.
- Power on the Switch 2 with the power switch on the back of the vaporizer. The LED lights above that switch will display the current battery life.
- Remove the magnetic carb cab and load the insert with your material using the included Dr. Dabber Drop concentrate tool. We recommend using a rice-sized amount though the Switch has the capacity for more if desired.
- Select your vapor profile using the plus and minus buttons.
- Place the carb cap back onto the heating chamber and press the D button. The lights will pulse red in an upwards motion to show that the vaporizer is heating up and will turn green once the Switch 2 reaches the desired temperature.
- Take long, slow and steady draws for the best results.
Dr. Dabber Switch Usage Tips
- If needed, a heating cycle can be cancelled at any time by pressing the D button once.
- The Switch 2 is compatible with almost any material that is placed in the heating chamber including dry materials, however the titanium insert should be used with dry herb and other dry materials.
- To use the Dr. Dabber Drop, avoid putting the tip of the tool directly into the heating chamber. Instead, you’ll want to hover the tool above the insert and press the button once to heat the material on the tip so that it drops into the insert. Do not scrape the tool on the edge of the insert as the electronics in the tool can be damaged if it comes into contact with the induction field.
- Pre-loading materials into the insert will provide the best results, is convenient and will help to preserve the flavor of the materials.
- When removing the inserts from the vaporizer, do not grab them by the cloud pathway holes. This may damage the insert. Use extreme care when removing as both crystal inserts are very fragile, especially when warm.
- When removing the glass attachment, rest both hands on top of the crown and gently push upwards from the bottom of the attachment with your thumbs. Never pull up from the mouthpiece to remove the attachment as this can break it.
- Fill the glass attachment with water to just above the percolator holes. Overfilling may cause splashback, though you may add more or less water as needed for your draw strength.
Temperature Settings and Dynamic Heating Modes for the Switch 2
Temperature settings can be adjusted using the plus and minus buttons on the vaporizer. The LED lights will change colors to show the profile that has been selected. The default temperature settings (in Fahrenheit) are as follows:
Purple- 400 degrees
Blue- 440 degrees
Cyan- 480 degrees
Orange- 500 degrees
White- 540 degrees
The Dr. Dabber Switch 2 offers six different dynamic heating modes which can be selected and customized in the app.
Descent- The temperature will slowly decrease after reaching the set temperature to simulate the thermal decay of a banger that naturally cools as time passes. This is the default heating mode.
Ascent- The temperature will slowly increase after reaching the set temperature to simulate a torching a banger as you inhale, increasing the temperature consistently during the hold time.
Steady- The temperature will remain steady throughout the entire heating cycle which simulates the performance of most e-rigs
Hill- The temperature gradually increases to focus on cloud production but then gently descends to create a flavorful finish.
Valley- The temperature gently decreases to deliver exceptional flavor and then slowly rises to finish with more voluminous clouds.
Custom- You can create your own heating mode and adjust your own experience.
The Switch 2 will remember the last temperature setting and heating mode after closing the app and/or powering the vaporizer on or off. There’s no need to reset the temperature or mode every time.
How to Clean the Dr. Dabber Switch 2
- It’s incredibly important to keep your vaporizer and inserts clean to maintain a fantastic performance and the vaporizer’s longevity.
- Remove the glass attachment, aluminum crown, and insert from the vaporizer.
- Using a cotton swab or paper towel dampened with isopropyl alcohol, clean any residue in and around the heating chamber, pathway, and crown.
- Silicone seals on the crown and carb cap can be moved for cleaning but use caution to avoid damaging the internal magnet.
- Inserts should be cleaned with a cotton swab after every session to help preserve the lifespan and flavor. Use a dry swap immediately after every dab and a swab dampened in alcohol while the insert is still warm to remove leftover residue. Removing the insert isn’t required for regular maintenance and is only recommended when necessary.
- The cleaning assist cycle is available in the settings within the app. This will heat the insert to 100 degrees for 30 seconds to allow for easier cleaning and removal.
- To clean the outer shell of the Switch 2, use a dampened paper towel with a small amount of dish soap to wipe down the body and ensure that water does not enter the charging port. Do not use alcohol as this will damage the finish.
- To clean the glass attachments, simply fill them with alcohol and shake vigorously. Repeat as needed or add a tablespoon of salt to act as an abrasive scrub to remove stubborn residues. Completely rinse with warm water and fully air dry before reinstalling.
Important Information About The Dr. Dabber Switch 2
Unfortunately, we cannot offer international shipping on this item. All international orders will be cancelled.
Induction chamber coloring may vary due to manufacturing tolerances. This is perfectly normal.
We highly recommend reading over our battery safety information before use.
Do not touch the inserts while in use or right after use. These can become extremely hot and may cause burns or injury to the skin. These do not need to be removed regularly and should only be removed when necessary. When removing, do not grab them by the cloud pathway holes as this may damage the insert.
The top and back of the vaporizer can become warm to the touch after multiple uses. Please allow the unit to cool down for about 20 minutes after running 3 or more consecutive heating cycles.
We recommend only using the official Dr. Dabber and LabLink Apps to connect to the Switch 2. Use of third-party applications may void the warranty.
We do not recommend using a torch to clean the inserts. Inserts are not covered under warranty.
Do not use Isopropyl alcohol on the outer shell of the Switch 2 as this will damage the finish.
Never pull up from the mouthpiece to remove the glass attachment as this can break it. Rest both hands on top of the crown and gently push upwards from the bottom of the glass attachment with your thumbs to remove.